Assalamualaikum,
Hellow all,
Just
info, ones of my hobby is sewing.. actually i love crafts, and one of
them is sewing. i had learned about sewing, how to make a pattern,
cutting a fabric and sewing that made it into a beautiful clothes. But i
never focus about that. So i never get expert. Maybe not yet. Hopefully
someday.
In this post i want to share to you all HOW TO MAKER YOUR OWN MAXI VEST LAYER.
Do It Yourself//DIY. Make it without any sewing needs. No need a thread no need a needle. No need a sewing machine..
Well
i learn this step from youtube. Practice it at home and now sharing it
to you. Hope this is work for you. And you love it. Coz its work for me
and i love it too. and Hoping it can be inspiration too..
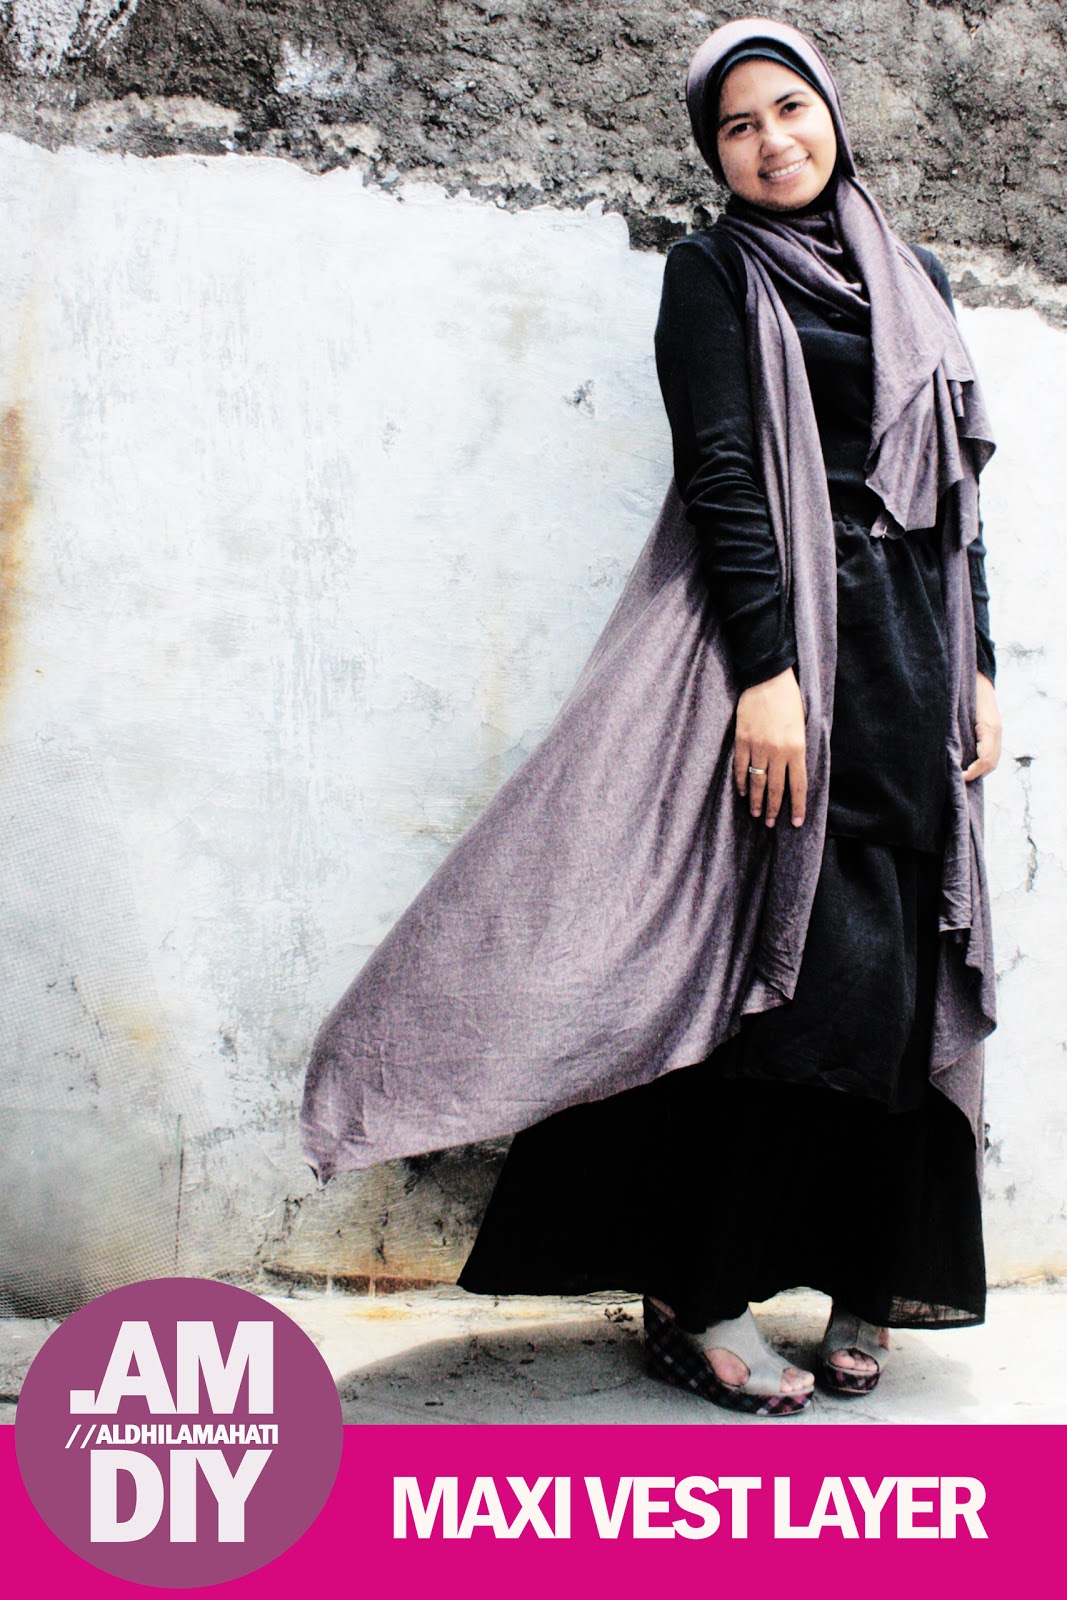
This
Maxi Vest Layer was mad from Cotton Fabric or T-Shirt Fabric. This Maxi
Vest layer we can use not only for casual look we can also make it for
feminine look. Today i match it with my piled skirt and how do i look?
Feminine isn't it?
Ok, lets begin the DIY Step by step
First you must prepare all the think we need.
DIY: WHAT YOU NEED
1. T-Shirt Fabric. I Use 2 mtr x 1 mtr (Bahan kaos ukuran 2 mtr x 1 mtr)
2. Clothes Chalk (Kapur Baju)
3. Clothes Meter (Meteran Baju)
4. Scisscors (Gunting)
5. Tool For Tracing (Alat untuk menjiplak)
DIY: FIRST STEP
1. Fold the Fabric width into 2 Pieces
1. Lipat bagian lebar kain menjadi 2 bagian.
DIY: SECOND STEP
1. Mark the fabric about 15cm from the end of the fabric cutout
1. Tandai kain sekitar 15cm dari ujung kain dengan kapur baju
2. Mark the fabric about 15cm from the fold corner with clothes chalk, so the lines will meet at the point previously marked and form a square.
2.
Tandai kain sekitar 15 cm dari ujung kain pada bagian yang dilipat/dari
lipatan kain. sehingga garis akan bertemu pada titik yang ditandai
sebelumnya dan membentuk bujur sangkar.
DIY: THIRD STEP
1. Make the circle in the middle of the intersection line, trace it with trace tool. This is use for hand hole.
1. Buat lingkaran dengan kapur baju, tepat ditengah titik temu garis. Lingkaran ini berfungsi untuk membuat lubang tangan.
2. Cut Out the Circle that already marked.
2. Gunting lingkaran yang telah ditandai
DIY: FINAL
Now you have a hole on your fabric. Thats use for hand. and we'll see what happens..
TARAAAAA...
Now You Have Your MAXI VEST LAYER
DO IT YOURSELF!!
How is it?
Preety cool isn't it?
I WORE IT..
 |
| Front View |
 |
| Back View |
 |
| Side View |
 |
| Well, Hope you like it.. and inspired you.. *kiss |
Review:
This MAXI VEST LAYER was made without any sewing, so its must be far away from the neatness and perfect. If you want it to be more neat you can sewing the fabric on each side.
Ok Guys,
See You Again in another DIY
Love,
.AM
(@DHILAwibi)